Sunday 13 May 2012

Day 17,18 and 19- So naughty

I know, I know....3 days and no update. I have been contemplating where things have been going. I have decided to stick with making canvases. This is for a few reasons but mainly because of all the confusion surrounding CE marking and EN71 testing. There are so many rules and regulations that its just not worth it for me. 
Although baby bibs and burp cloths do not need to be tested I do not feel comfortable in selling an item for a baby that has had no toxicity testing. This is personal choice and you may feel different. 
I have some massive plans for canvases and I cannot wait to start them. I have bought some items today and I am so excited for them to arrive. I really need to get a sketch book.......


Anyway, I have had a really chilled weekend and have only made one thing and that was only a practice run. So I will share but also tell you I am aware of changes that need to be made. 


I also washed some fabric today, not the best idea I have had. Really should have checked with the chicks before doing so. This is what happened 


This is how it came out of the machine 

 Note the massive knot of tangled thread......


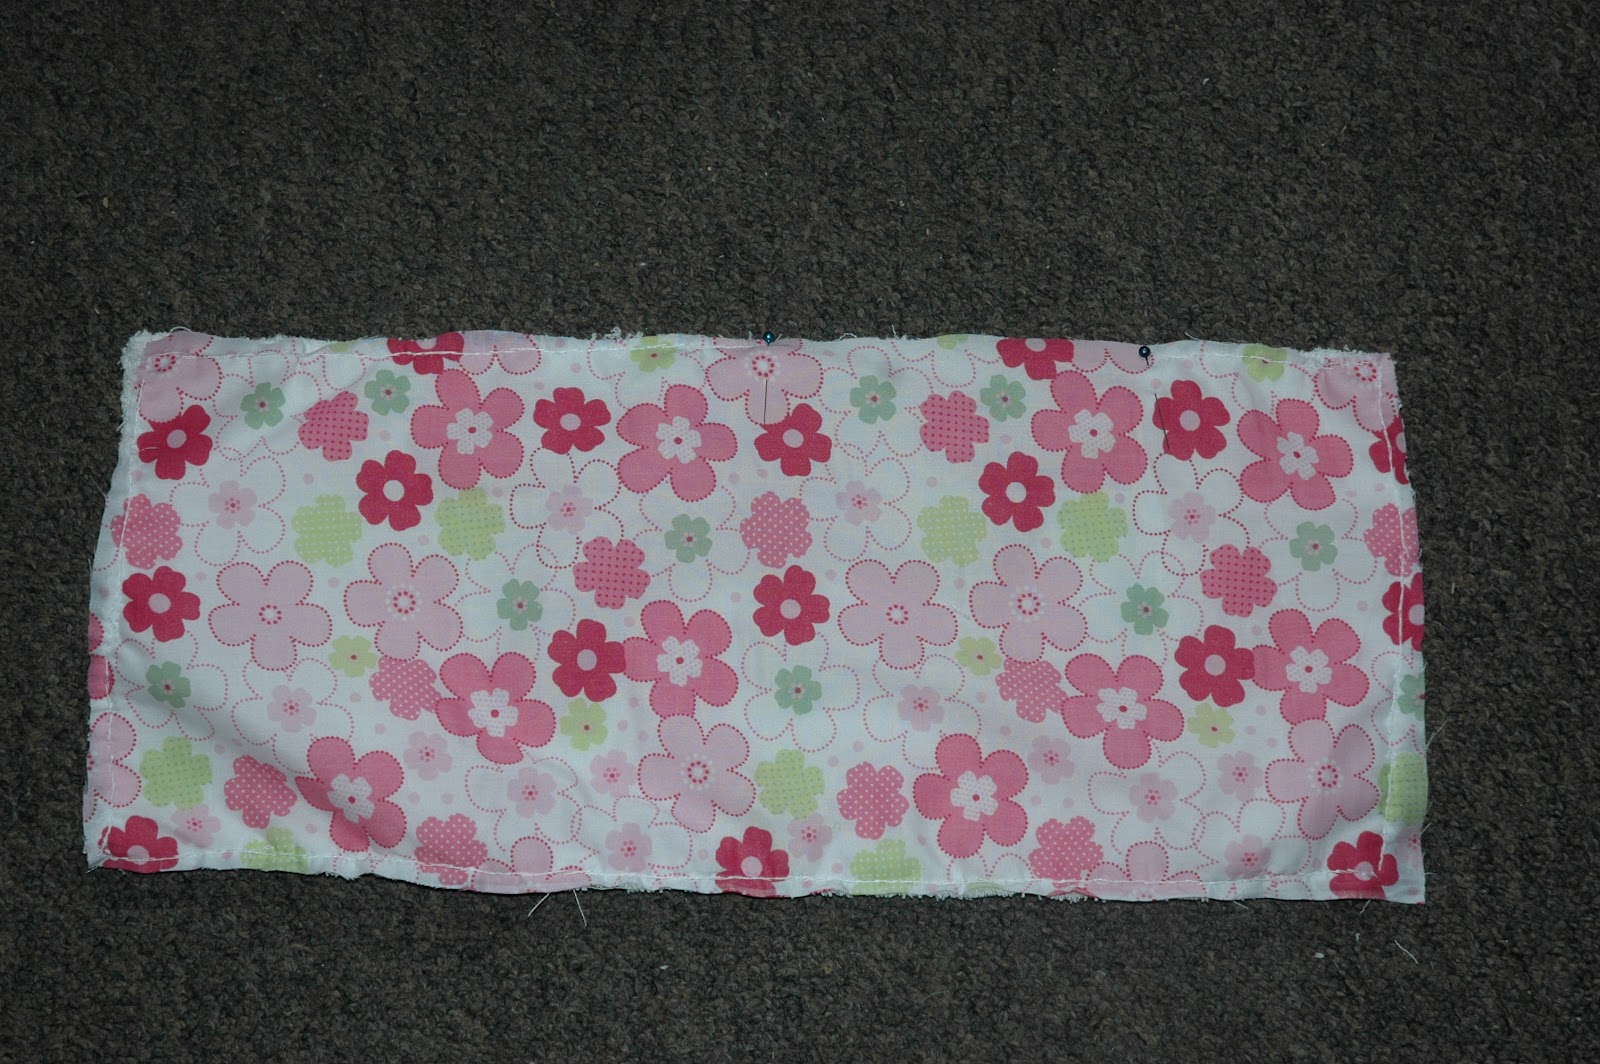
I was so worried I had ruined a lot of fabric but below is all 
I had lost...thankfully!! 


See you tomorrow 
Mother Hen
x

Thursday 10 May 2012

Day 16- Burp cloth tutorial

Hello everyone, can't believe that I have managed to do a tutorial and finish a make before 5pm with 4 girls in the house!! As promised a burp cloth tutorial. I hope its easy to understand. This is perfect for beginners (like me) as they are just straight lines. Let me know how you get on. 

Step 1 

What you need
*Cotton/Polly cotton (a fat quarter is plenty) 
* Absorbent fabric eg fleece or towelling (I have used soft towelling) 
*Pins
*Scissors 
*Tape measure
*Needle
* Coordinating thread
Optional 
*Sewing machine, a lot faster but I don't get on with mine!! 


             Step 2 


 Cut out a piece of fabric and towelling measuring 18"x8" and pin them face together. I used lots of pins to keep it all in place. Sew around the edge. I used a back stitch. You can see a tutorial for this stitch here


Step 3

Make sure to leave a section not sewn. This is where you will turn the cloth the right way around. I like to leave 4"-5" gap.


Step 4

Turn your cloth the right way and poke out the corners carefully with a pencil if you need too. Use a simple ladder stitch to close the gap which you can learn here

Roll the cloth up and tie with some nice ribbon and they make lovely gifts 


See you tomorrow Chicks, 
Mother Hen
x

Wednesday 9 May 2012

Day 15- Matching accessories

A very late blog for me tonight. Half an hour before its tomorrow!! I haven't done much crafting today as I am poorly and so is little miss Abby. So I have only done a quick make which I am going to do a tutorial for tomorrow. A burp cloth that matches the MegaBib I made the other day


Really proud of my first attempt at these, looking forward to seeing what people think on my page too. 
Sorry for yet another short blog. I will do a tutorial tomorrow 


See you tomorrow 
Mother Hen
x

Tuesday 8 May 2012

Day 14 & 15...A new baby!!

I have been naughty!! I did not write a blog last night, the first time I have missed a day but I do have a good excuse. My sister went into labour and baby Sienna was born last night. I had been at the hospital all day and I didn't get home until 10pm. I did however, make some bibs in between her contractions (hehe) and that's what I have been doing today. Abby is about to go to bed and I am going to photograph all my stock and also open an etsy shop!! I don't yet have any pictures to post of them but I wanted to show you something I had made for Megan's doll that I love the feel of, a mini minky blanket. The only one I have ever made backed in soft fleece. I am proud of it 

Tomorrow I am going to try and do something a bit different but I can't promise as I have plans to cuddle Sienna a little more. 


See you tomorrow 
Mother Hen
x

Sunday 6 May 2012

Day 13- MegaBibs

Hello all, how you have had a lovely Sunday. It's been lovely here. The only crafting I have done today is making bibs. Yesterday I informed you that they were called Bibble Bibs but I was informed that the name had already been taken and although it is not registered I didn't want to use someone else name idea. My lovely chicks put their heads together and Sarah came up with MegaBibs (Megabibs, MEGABIBS...not sure which way to write it yet) named after my 2 daughters Megan and Abby. Thank you Sarah, for an awesome name. Here are my first 7 bibs, made and nearly ready to go. Please let me know what you think of these.


I promise that some time this week I will do something other than bibs but I am trying to build up my stock and as these are all hand stitched it takes a bit of time. 


See you tomorrow 
Mother Hen
x

Saturday 5 May 2012

Day 12- Babababa baby bandana bib collection

Hello everyone, hope your Saturday has been lovely. The sun has been shining here in Wales most of the day, although its a tad chilly now. I decided that I would start my new range of baby wear today. It's something I have wanted to do for so long. I am fed up of seeing the same old stuff year in year out. I have some big plans, some I am not ready to share until they are perfect. I would like to show you the first in my bandana bib range which at the moment are called Bibble Bibs. I am so pleased with it. It's the first time I have ever done a ladder stitch and I am so proud. 


I am going to sell these on my facebook page for £3 each or 2 for £5. I really enjoyed making this bib and will spend tonight cutting out more. Let me know what you think 


See you tomorrow 
Mother Hen 
x

Friday 4 May 2012

Day 11- Exciting stuff!!

Evening all. (every time I start a blog like that I think of an old bobby on the beat!!) I hope you have all had a great week and are now chilling out with a glass of wine (bottle) and looking forward to the weekend. Today has been quite exciting for me, I have had my lovely canvas's approved to go into a local shop and will also get some free business training too. I quote 'your stuff is really unique, you're very talented' eeekkkk talk about confidence boost! We are looking to get it in the shop next month which means I have a lot of work to get done between now and then as I have 2 new lines I want to add before June, one of which is below. 


I have taken A Little Tweet™ from canvas block to canvas bags. This is my first attempt and I have learnt A LOT and will not be making the same mistakes next time!! I quite like this though, what about you? 


I also had a lovely chat with trading standards today regarding some soft toys I make and they have put me in touch with a local tester to have them CE marked which I am also a little bit excited about. Really hope they pass!! 


I am also going to feature a very special crafter on tonight's blog. My beautiful daughter Megan, who after school headed up to my craft room only to appear half an hour later with her very own Olympic torch. I am very proud of her attempt. She also up-cycled some paper napkins to give it the British look. Please leave a message for Megan so she can read them 


And a close up of Megan's headband that I made for her, she loves it 

Will be back tomorrow with hopefully a totally new idea. Fingers crossed it works.

See you tomorrow
Mother Hen
x

Thursday 3 May 2012

Day 10- 10,9,8,7,6,5,4,3,2,1...BLAST OFF

Hello all, Hope you have all had a lovely Thursday. The weekend is not too far away now (yay). I had a lot of time to think last night after my blog had been written and with the help of some crafty chicks came to a decision. I am going to stick with my canvas designs. As one of my friends said 'you're on to something there'.
 I have mainly been doing owls or Little Tweets™ as I call them but I have wanted to expand and do other things. I was given loads of ideas last night so today I have been sourcing and sketching ideas/templates etc I found that most were girlie but one idea was a rocket (Thank you Jemma) which I really wanted to try, so glad I did. This is the only one I have managed to make today, hoping to get some more done once my babies are in bed. Let me know what you think.
9x7cm rocket canvas 
picture © Amy Anderton 2012
Now, I know I was also supposed to do a tutorial on making the nappy strap today but in all honesty I just haven't had time. So I will just post the link to the one I used.(I know, so lazy!!)  They are so simple to make and I would love to see yours. 


See you all tomorrow 
Mother Hen
x

Wednesday 2 May 2012

Day 9- Not so crafty

Arghhhh today has just been one of those days to be honest. I went to my second sewing class and half made a cushion. Next week I am learning to close them properly. I feel its missing something, a name maybe? 


WARNING MAJOR MOAN ALERT
I have been really thinking today about where my crafting is going. I set up a page on facebook a few weeks ago called A Little Tweet when I started to make canvas's. Which I love doing, they are my babies. They got such a good reception, people really loved them and thought they were really unique. Then I met a bunch of amazing, lovely, beautiful crafty chicks who introduced me to the world of sewing. I wanted to try everything out and I have, I have my fair share of cushions, soft toys, thread, needles and pins. I have loved every minute of it. 


Today I sat down and spoke with Jim about where I seen this going. I love sewing and crafting but I set out on this path for business and it turned into so much more. It turned into a passion. I log onto facebook and the first thing I do is check the updates on the crafty chicks page. I love the support and encouragement everyone gives, I love to see everyone's new projects and ideas but as I said, this was supposed to be business. 


I have put more time into my hobby than my page and I need to really divide the time between them but with 2 children that can be hard. I have always loved the thought of working from home and being able to be Mummy and boss without having to leave my house but this is a competitive world, I have tried many things in my time and there was always someone else out there doing the same. As most of you know, you need to work hard, build a good customer base and be top of the business/product food chain. I have scoured the internet looking for ideas to make something unique and I really believe my canvas's are just that. What do you think? Can I make this work or am I just kidding myself? Everyone has been so supportive. Even my mother in law has placed an order, that my chicks means something!! 


Help me out here, I am having a crisis........opinions? I will be back tomorrow with a tutorial for you all to try 


See you tomorrow 
Mother Hen 
x

Tuesday 1 May 2012

Day 8- Happy, Nappy, Strappy!!

Hello everyone, hope you have had a lovely Tuesday. Only a quick blog today, having an early night. I have really enjoyed today's make. Its something I have wanted to try for ages but just thought it would be complicated, I was so wrong!! I am hoping to do a tutorial for this soon


This fab nappy strap keeps everything together in your bag. I cannot be the only mum that has to rummage through my bag getting tangled in nappies and wipe packs, this is brilliant for me!! Let me know what you think. 

See you tomorrow 
Mother Hen 
x

Monday 30 April 2012

Day 7- Christmas comes early!

Hello all, Firstly I would like to thank anyone that has actually been reading my blog, I know its not great but I do thoroughly enjoy it. I can't believe I have been at this a week already. 


Today I decided to start thinking of Christmas. I have my daughters birthdays in August and October along with others in-between. The end of the year is always expensive for us. So, with that in mind I have decided to make as many Christmas presents as possible this year. From canvas's to cushions, everyone is getting something handmade. I want to up-cycle as much as possible too. I decided to start with my mum, I know what she is into and what she likes. Plus, she loved the first button canvas I ever made, it hangs in her hallway and I looked at it today and could see how far I have come. My mum has always supported my craft and 'loony' ideas. My mum loves anything with flowers, think Cath Kidston and you're there. She also loves elephants and most years my sister and I end up buying her a new elephant theme ornament. Only problem this year is that she has so many she has run out of  room. I got my thinking cap on and came up with this 

 
I love this little elephant. I even had my first go at hand embroidery and really pleased with the result. This elephant (who I feel should have a name...suggestions?) is going to go on a canvas. I am also going to make a larger matching one to go onto a cushion with 'Nanny' hand embroidered above it from my children. 
I really hope she likes it. 


I also made this little appliqué too, I am not sure what I am going to do with it yet, maybe pop it on a t-shirt, bag, canvas...so many options 


and don't worry, my mum has no idea how to turn a computer on never mind find a blog!! Let me know what you think and I will be back tomorrow with (hopefully) some Christmas makes. 

See you tomorrow 
Mother Hen
x

Sunday 29 April 2012

Day 6- A lazy day

Good evening all. I hope you are all settled down in front of the TV after enjoying your Sunday lunch. I didn't get my Sunday lunch today as...well to be honest couldn't be bothered to go shopping to get anything, so that should give you a good idea of how today's blog is going to go. 


I wont lie, I actually made this last night when I had the full motivation. I have only ever attempted a cushion once before and it was a disaster, I used this horrible stretchy fabric and didn't follow the instructions correctly. My husband Jim is a massive super hero, Marvel, DC fan and I got a small piece of Marvel fabric from a friends de-stash with no idea what I was going to do with it. When it arrived it was a rectangular shape and I have put it to one side ever since. 


Last night I took a pair of scissors to it and made Jim a cushion. I used a running stitch on the inside and then used a blanket stitch on the outside, the first time I had done this. I am VERY happy with the result. For someone that has never attempted a cushion properly it turned out very well. I feel a lot more confident now I have actually done it. 


I have a small amount left that only has parts of characters on but I know I want to use it for something, maybe a pin cushion? 

Anyway, sorry I 'cheated' today, I promise I will be back on form tomorrow with a fresh make 

See you tomorrow 
Mother Hen 
x

Saturday 28 April 2012

First review from Make and Do!!

I have never written a review before but its something I have always wanted to do. Thank you to Kirsten from Make and Do for helping me out with this. I asked some of my friends to send me something we could write a review on. Kirsten sent me a lovely little 'Make your own button tortoise' kit. As soon as it arrived I was terrified, I had never made anything like this before and was worried it would be a little too complicated for me. I enlisted the help of my daughter Megan and we got going. I will include all the details on where to buy this kit and more at the end. 


The kit arrived in this simple yet effective packaging. I could see what was in it straight away which got me all excited as it contained my favourite things. It contained 
-Pre-cut felt pieces 
-Buttons
-Needle
-Thread 
-Polyester toy stuffing 
-Step by step instructions 

How I managed not to open it before we were ready to make it is beyond me. Finally, Megan got home and we could make the new addition to our family. Who is called Trevor. 


The instructions were really simple to follow and even helped out with what stitches you should use (thank goodness I learnt the blanket stitch this week) Megan stitched buttons onto the shell while I stitched together the legs, tail and head and then stuffed them. We had some buttons left over which Megan has stolen for her stash. 

I didn't take pictures of the make in progress but really wish I had now. It was so much fun to make Trevor, Seeing him come together. I have put these little kits on my Christmas list for family as I know a few that would really enjoy them. 

On the packaging it states that they are not suitable for children under 14 years old. Megan is 8 and with supervision got on fine but obviously I wouldn't leave her along with a sharp needle and scissors. I highly recommend this kit to you and it would make a fab present for anyone that has just started sewing as the instructions were so easy to follow and understand. The only problem I had was sewing Trevor's 'tummy' in place but this was not down to the kit or instructions, it was me. I had never sewn the 'tummy' onto anything before but I am sure next time it would be fine. 


All in all this is a great little item that I thoroughly enjoyed making and I look forward to buying more kits from Make and Do. This kit costs £7 plus postage.

To check out all the products from make and do you can follow the links below 

© Kirsten Clark 2012

Day 5- Handmade scrapbook tutorial- Part 2

Good after noon. Going to crack straight on with the 2nd part of this tutorial today as I will also be writing a review later for something I am very excited about. So for today's (half) make you will need to following

As well as the items from yesterday you will also need 
-Ribbon
Various lengths, widths and colours 


Buttons-
Various sizes, shapes and colours 


Felt- 
Coordinating colours 


Fabric- 
I have just used some scraps 


Templates- 
Any shapes you would like to cut out 


Hot glue gun


After leaving the fabric to dry over night I trimmed the edges and went back over the holes with the punch. 


Next I made some felt shapes and covered some buttons in the fabric I had used. The templates came from Google. 


As you can see I made a few more items to add. Including a felt heart with sewn buttons (not stuffed!!) a ribbon bow, a fabric yoyo and I also added ribbon to one of the binder rings although you can add it to both. 
I will be doing a tutorial on making the felt heart and fabric yoyo soon. Once I was happy with what I had I started to add them to my scrapbook. You can lay them on top to get the look you want but I just randomly hot glued them on. 


Once finished I punched some holes in card and popped it inside, ready to have pictures, clippings and ideas added to them. It's not brilliant but its something my daughter would enjoy doing on a rainy day. I like it because I made it and know how much time went into it. 

I will be back later with our very first review 
Mother Hen 
x


Friday 27 April 2012

Day 4- Handmade scrapbook tutorial-PART 1

Evening all. For today's make I decided to try something that really is out of my comfort zone. I have no idea how it is going to look in the end. I don't mind though as its for personal use and you can add your own twist. I hope this tutorial will give you the jist of what I am trying to achieve. At the moment it looks a mess!!

Step 1- What you need


For part 1 of this make you are going to need 
- Thick card
I used mount board bought from my local craft shop, I got a big sheet for a few pound. You can also use 2-3mm chipboard which is what I wanted to use originally but couldn't find anywhere to cut it to size. An alternative is an old cardboard box. 


- Fabric
I have decided to use Union Jack fabric as this is the theme for my scrapbook. I bought 2 fat quarters but so far have only used 1. 


- Binding rings
I bought 2" rings as these were the only ones that my craft shop had in stock. This book will be pretty full so I think they will be fine. You can also get these on ebay. 


- Hole punch 
To make holes for your rings (easier said that done on mount board) 


- PVA glue 
I just bought a cheap bottle of children's glue


-Pencil, scissors and clean paintbrush

- A4 Card 
I chose white card but you could have any colour or a mix. 


Step 2- Cutting the mount board 
I decided to cut the mount board slightly bigger then the A4 card. I added 1cm to two sides (1 long side, 1 short side) I then cut 2 pieces the same size. 


Step 3- Adding punch holes

This is a lot harder than it looks on mount board. I think if you had a heavy duty hole punch it would be easier. Don't be afraid to push down hard and then poke the holes through with scissors as I did. It looks a mess but it doesn't matter. The reason we are punching now is so that its easier to get through later. 


Step 4- Fabric 


I folded the FQ of fabric in half, cut into strips and then in to (sort of) squares and rectangles. They do not have to be perfect or any particular size or shape. Just chop away. 

Step 5- Decopatch 


I added PVA glue to the mount board a small section at a time. I have 2 daughters and can be called to their aid at any moment, the last thing I needed was a whole board covered in glue left to dry before adding fabric!! 

I add 1 piece of fabric at the time and the spread PVA glue over the top, then stick the next and so on until the whole board is covered. It doesn't matter if you go over the edges with the fabric as you can trim it later. 

Once the board is covered I added a thick layer of PVA over the top of all the fabric once this had dried I coated it once more and once that is dry (tomorrow) I will see if it needs another coat. 


Decopatch with paper seems to be easier as it absorbs the glue a lot faster than fabric does. Once this is completely dry I will use the hold punch to go back through the holes already made. 


Join me tomorrow for the best bit.....decorating!!! 


Thanks for reading, see you tomorrow 
Mother Hen 
x

Thursday 26 April 2012

Day 3- Wood, paint, paper, glue....what a mess!!!

Evening all!! Hope you have all had a fab day. I have been waiting for some wooden shapes to turn up for a while well today they finally arrived so I decided to use them in today's make. They are not that great but I know why and I know that the next ones will be ok. My first mistake is that I am just too impatient and used a hair dryer to dry the paint, it cracked!! Next I used really thin paper and it just doesn't work. I need to use the foil type wrapping paper or even better proper decopatch paper. Then I dried the glue with the hair dryer which caused it to crinkle (used buttons to save the cupcake...sort of). 


So, next time I am going to paint in the morning and leave to dry all day. That way I can work on it in the evening. I do like today's makes though! What do you think? 


I am also going to use fabric for the name rather than paper as it just looks nicer. Let me know what you think or if you have any suggestions 


See you tomorrow 
Mother Hen 
x

Wednesday 25 April 2012

Day 2- A stitch in time

Hello all, quite a late blog tonight, need to get it in before midnight for it to count as day 2! Its been one of those days! 


I started a sewing course today, I didn't really know what to expect when I arrived. I had no idea if it would be machine or hand sewing. Turns out it was hand sewing, thank goodness as me and my machine are not on speaking terms. It was really relaxed and informal. The tutor Andrea is lovely and owns a local bridal shop. She is of the mentality that 'everyone does things differently' which is a great attitude to have when teaching. I really like her (plus she brought doughnuts, chocolate ones!) 


She asked us what we wanted to gain from the course, I knew straight away that I NEEDED to learn some new hand stitches. I always use a whip stitch as its just easy and holds well although its not really any good for items you will turn the right way round as the stitches show. Andrea seemed to like the fact that I wanted to learn something practical and not just 'make something'. She has made me promise to take my machine next week so she can give me a lesson, which, in all honesty I am looking forward to. She gave me some fab ideas for my 365 days of craftiness. 


The only down side is that the course is only on for 5 weeks but really hoping it is extended as it has been in other areas. So although I didn't actually make anything today I did learn something new. A running stitch and blanket stitch. I do have an issue with 'wonky' stitches but this is something I am working on. You can check them out in the picture below although you can't see the running stitch so well as the blanket stitch hides it. Next week we will be working on my machine and learning a few more hand stitches and by week 5 I am hoping to make my first pillow case dress. 


See you tomorrow chicks 
Mother Hen 
x

Tuesday 24 April 2012

Day 1 of craftiness- Decopatch plant pot

Welcome to my blog!! As you have probably guessed by the title this is 365 days of crafts. It all began on a facebook group I set up when member Sally came up with the idea. Then others gave their input and this is how I ended up here! The idea is that everyday for 1 whole year we will do something crafty and keep a journal/scrapbook with pictures and also our blogs. There may be a few flaws in this plan in that some of us have children, jobs etc and may not be able to stick to 365 days. 
I will try to do 2 items on 1 day if I know I will be busy on another. I am really looking forward to seeing what the other 'chicks' come up with and if you have any ideas of something I can try please let me know. 

I think most of the chicks are starting tomorrow? But I made something today and will be doing things tomorrow so thought I would share and use this as day 1.
I have been wanting to try decopatch/decoupage (not sure which is right!!) for some time but never really got around to it. Today I bought a cheap terracotta pot and some serviettes and gave it a go. Here is what happened
Excuse the mess on the table. My daughter and her 
friend tried to make me a garden bench!! 

I actually really like how this pot turned out. It needs patching up in places and I have learnt lessons for next time but for a first time, its fab. I love how where the serviette was white, in places went transparent so it gives it a sort of 'shabby chic' or vintage style look. I think this one may live in my kitchen for my utensils.......Who said flowerpots MUST be used for flowers?

Tomorrow I start a sewing course so fingers crossed I will make something there and can blog about it for day 2. 

See you all tomorrow 
Mother Hen 
x