Step 1
 What you need
*Cotton/Polly cotton (a fat quarter is plenty)
* Absorbent fabric eg fleece or towelling (I have used soft towelling)
*Pins
*Scissors
*Tape measure
*Needle
* Coordinating thread
Optional
*Sewing machine, a lot faster but I don't get on with mine!!
Step 2


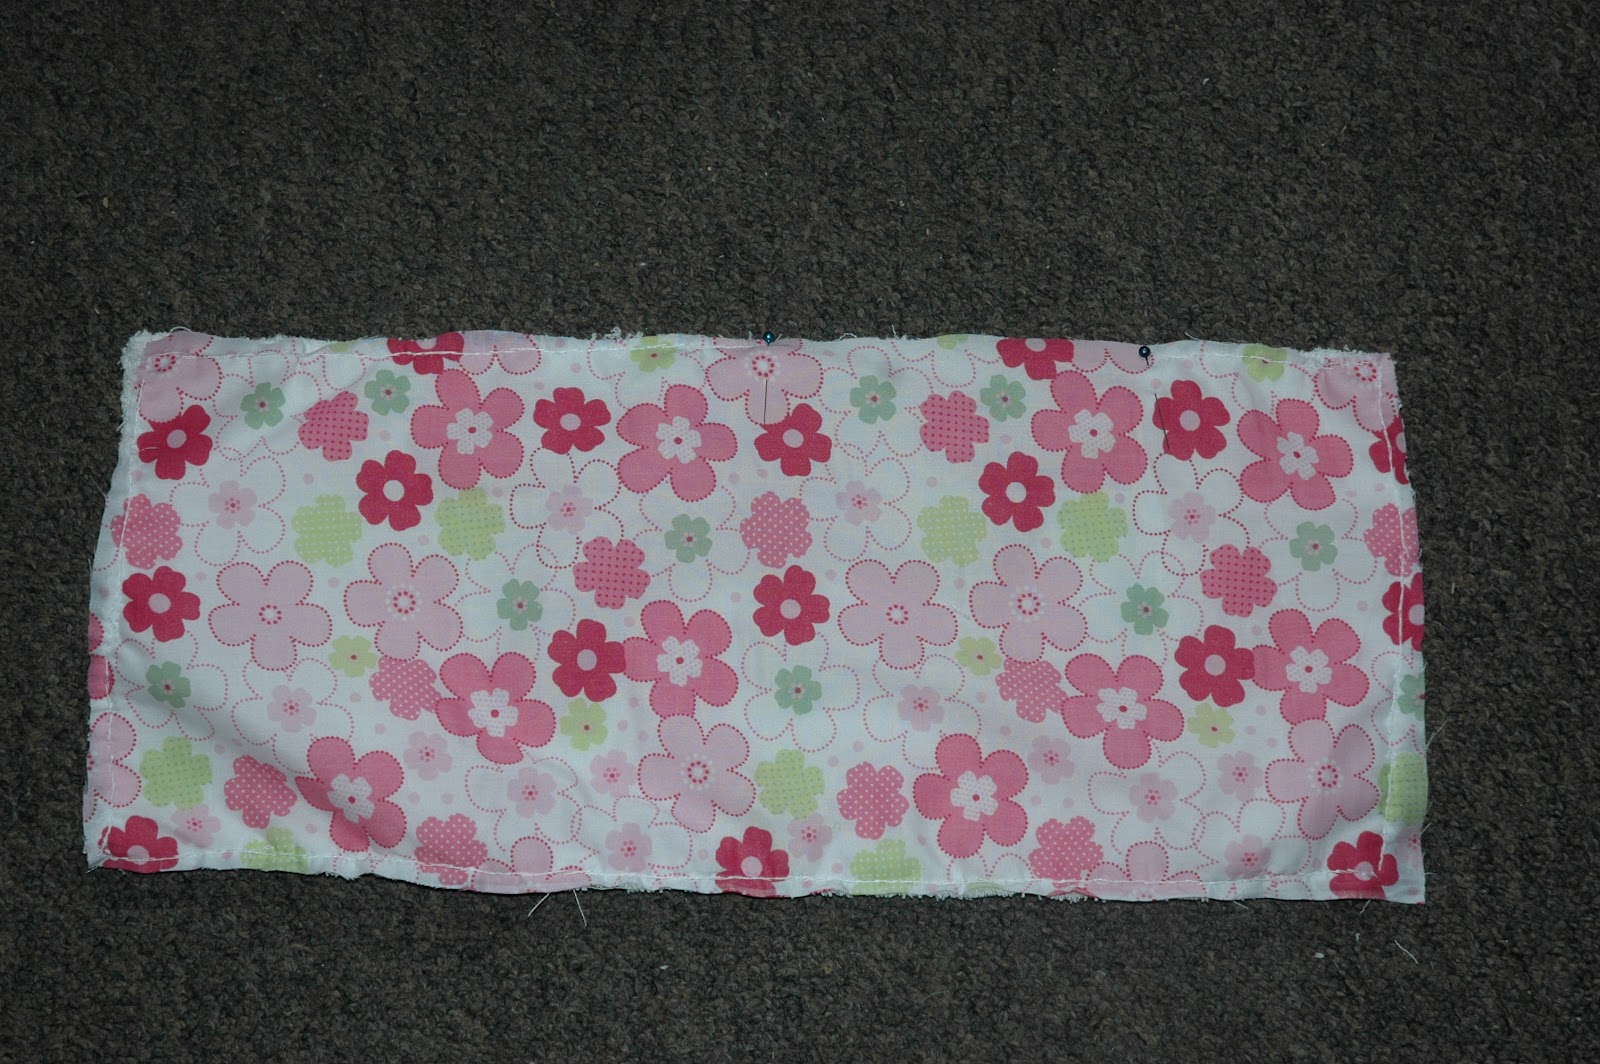
Cut out a piece of fabric and towelling measuring 18"x8" and pin them face together. I used lots of pins to keep it all in place. Sew around the edge. I used a back stitch. You can see a tutorial for this stitch here
Step 3
Make sure to leave a section not sewn. This is where you will turn the cloth the right way around. I like to leave 4"-5" gap.
Step 4

Turn your cloth the right way and poke out the corners carefully with a pencil if you need too. Use a simple ladder stitch to close the gap which you can learn here
Roll the cloth up and tie with some nice ribbon and they make lovely gifts
See you tomorrow Chicks,
Mother Hen
x
No comments:
Post a Comment